Are you in the market for a new LED wall for your church or business?
Best Livestreaming Equipment
Discover what top-rated equipment we recommend adding to your church streaming toolkit.
Download for free!
We’ve developed the perfect list of factors that every buyer should look for when purchasing new LED hardware so you can find the one that’s right for you.

LED Wall Features You Need to Care About
When vetting different church LED walls, there’s a few features you need to check out; the video processor, refresh rate, pixel pitch, brightness, and susceptibility to the Moire effect.
LED Video Processors
LED video processors are image conversion devices that are uniquely designed for full-color LED displays. These devices receive and process video graphic signals in order to convert image data into full-scale visuals. Most video processors can enhance the resolution format, color spacing, and image scaling of video graphics, making them a vital component for using your LED wall successfully.
In order to reap the full benefits of a good video processor, you’ll want to look for one with functionalities such as image zooming, signal switching, image quality improvement, and multi-screen processing. These functions will help you do everything from scaling your images correctly, to managing images being displayed over multiple screens. Make sure you look into how you want to utilize your display so you can be sure your LED wall’s video processor has the exact capabilities you need.
Refresh Rate
A speedy refresh rate can change the game when it comes to image quality on your church LED wall. This rate measures how many times per second your hardware can send off video signals in order to repeatedly display a static image on a screen. Without a fast refresh rate, you can end up with serious image quality issues that lead to blurred visuals and delayed videos. That’s why it’s important to look for an LED screen with a refresh rate of at least 1200 Hz. Some modern designs have refresh rates of up to 10,000 Hz!
If you’re regularly filming your LED display with a camera, you should also be sure to look for a refresh rate that is considered “camera safe.” Otherwise, you may end up with flickering visuals on your stream. An LED wall that’s considered safe for cameras will have a refresh rate of about 1920-3940 Hz.
Pixel Pitch
Pixel pitch refers to the distance between the center of one pixel on an LED screen, to the center of another adjacent pixel. By knowing how close your pixels are on your display, you’ll be able to calculate your image resolution and your viewing distance better.
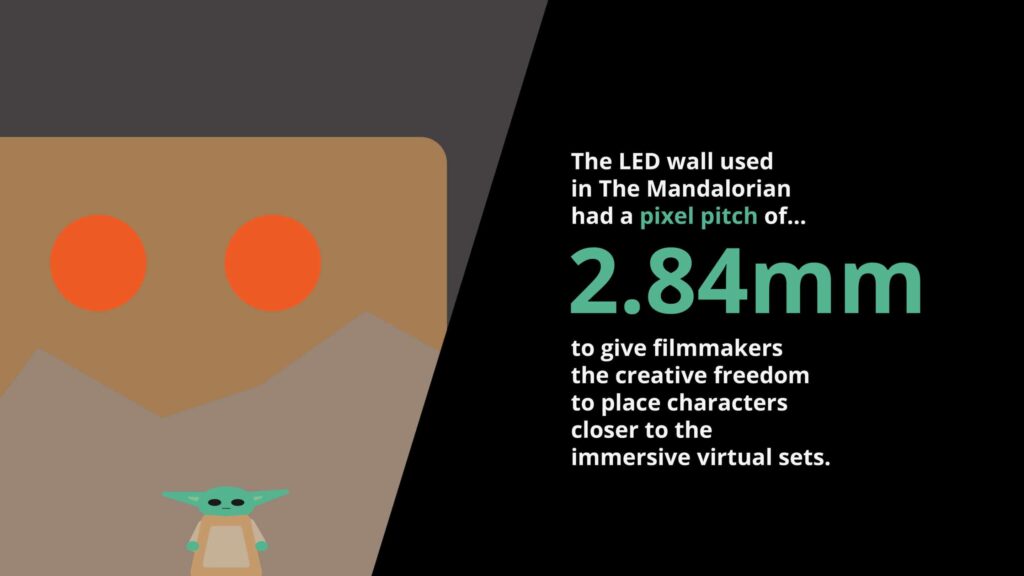
As the space between pixels grows larger, the image resolution goes down. This in turn affects how far away someone will need to be from the LED screen in order to get a clear view of the images being displayed. This result isn’t inherently bad, as there are events where people will be great distances away from their screen. However, if you’re working in a smaller space, you’ll want to make sure you choose an LED wall that has panels with a low pixel pitch.
Brightness
When it comes to LED screen brightness, you may be thinking the obvious: the brighter, the better. While this conclusion makes sense, LED screens actually come in a full range of brightness levels, and sometimes the brightest options aren’t always what will serve you best.
For example, if you’re using an outdoor LED screen, you’ll likely want high brightness in order to display the richest colors and images without the sun reflecting and ruining your visuals. However, if you’re working with your LED screen in a smaller and darker space, using the brightest option of LED screens can lead to viewers being blinded by the intense lighting. In fact, indoor LED screens generally need a brightness level between 1000-1200 nits, semi-outdoor screens need between 2500-500 nits, and outdoor screens need a whopping level of 5500 nits or higher.
This shows just how bright screens can go and how the variations amongst screens in different environments can be staggering. Thus, when looking over brightness levels in screens, make sure to consider what your installation environment will look like and how bright or dim lights might affect it.
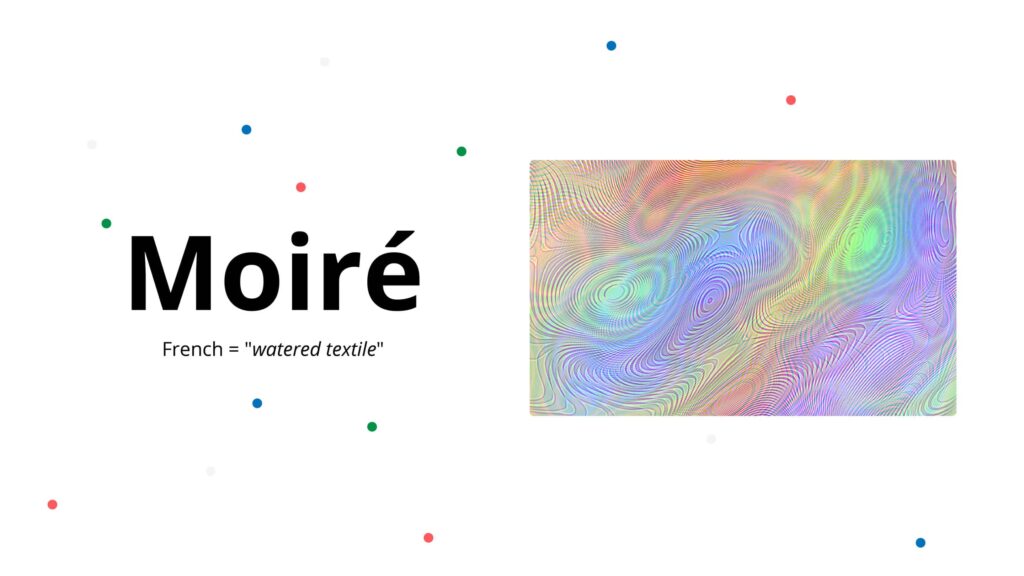
The Moire Effect (And How to Avoid It)
The moire effect is when odd lines or ripples appear on your LED wall or display due to unbalanced illumination between pixels, resulting in a glare across your screen. This effect usually takes place when filming your screen with TV cameras and can be difficult to get rid of.
That being said, with the newest technology, you can now look for LED displays that contain an optical processing screen. These screens contain light-absorbing material and bead lens coatings in order to dissolve any type of glare. They are fixed closely to your LED hardware so you won’t have to worry about the additional screen affecting your display, leaving you with camera-ready visuals that can be filmed with ease!
But what do you do if you already have an LED display that doesn’t contain an optical processing screen? We gathered the best tips and tricks on how to get rid of the moire effect and they just so happen to include simple alterations to your camera! So next time you’re filming, try these simple steps and see if they help you stream with success.
Tip 1: Adjust your shooting angle
The moire effect can sometimes be caused by something as simple as the angle between your camera and the LED screen. By adjusting your shooting angle and rotating your camera, you may be able to minimize or completely remove the effect.
Tip 2: Switch your camera position
You can sometimes decrease the moire effect by simply moving your camera position up, down, right, or left. This helps shift the angle between the camera and the LED screen and result in a clearer picture.
Tip 3: Rework your camera focus
If your camera focus is far too sharp on a very detailed image, this can sometimes result in the moire effect. By slightly altering your focus, you can completely reduce the effect and have greater image resolution.
Tip 4: Change your focal length
Change up your lens or focal length when you notice the moire effect on your camera and see if that helps reduce the issue.
Tip 5: Process with software
If all else fails you and you don’t see any improvements by changing around your camera, it might be time to invest in some processing software that can help eliminate the moire effect from your videos.
Set Up Your New LED Wall
Assessing your space for a new church LED wall will involve more planning and discussion than we have time for, so be sure to look into all details surrounding your LED screen including indoor versus outdoor panels, installation varieties, power requirements, and more.
However, we do hope you find our list of features helpful when choosing your next LED display and if you’re looking for even more information on everything LED, check out our interview with LED expert Stefan Svard in the video above.