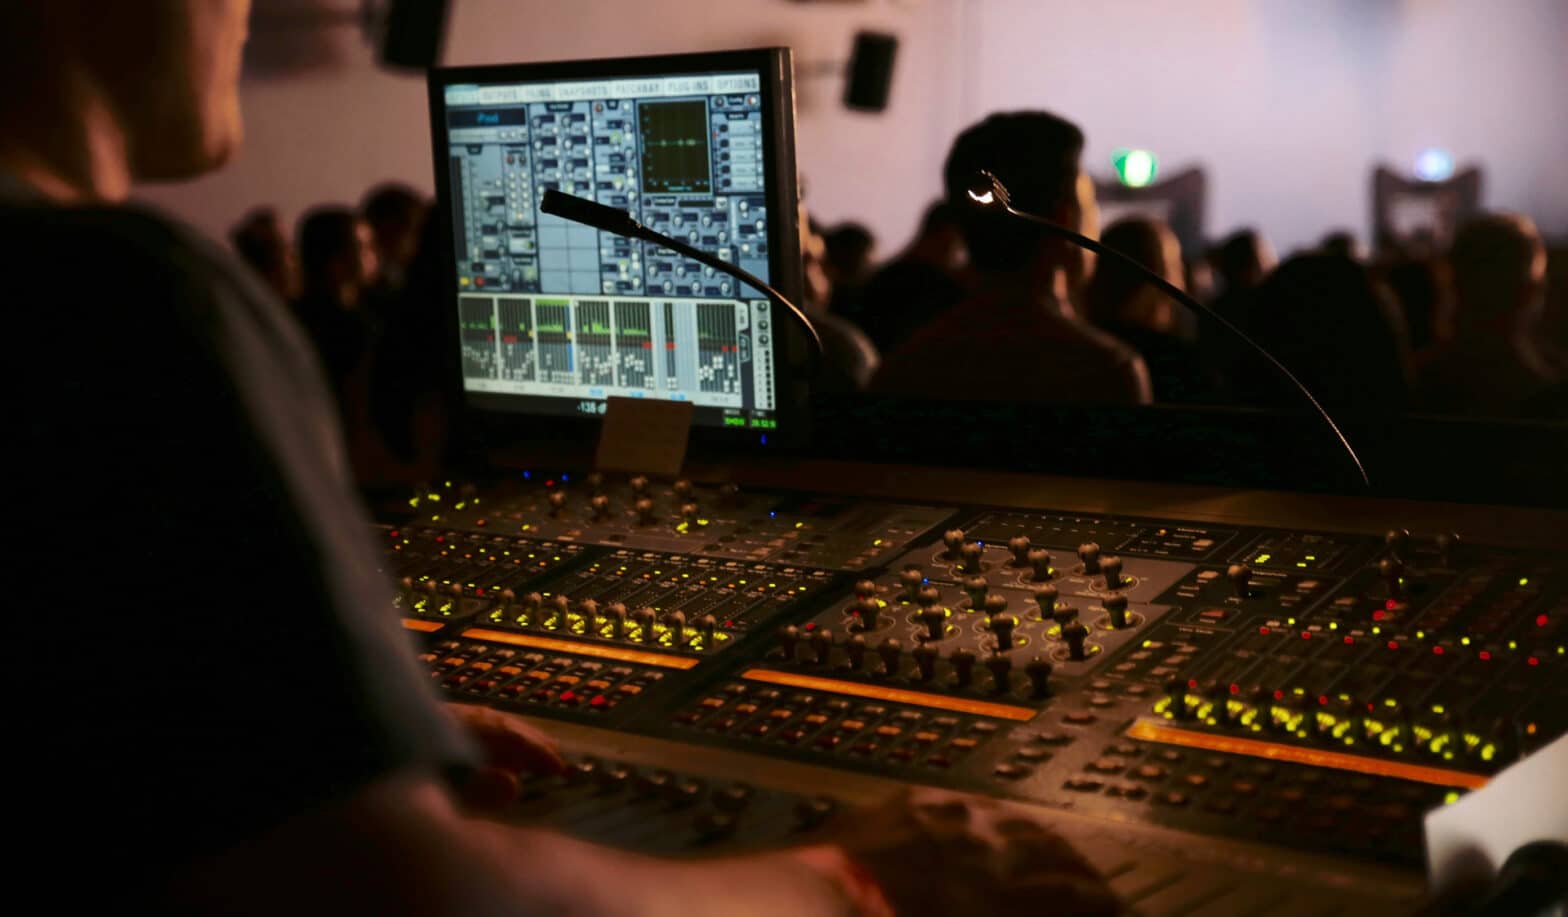
When you’re handling a live broadcast, especially for the first time, the church audio mixer can feel like an intimidating piece of gear with too many knobs and faders.
Here’s the good news: You don’t need to be an audio engineer to get great results. With a basic understanding of church audio mixing and some practical steps, you can create a simple church audio live stream that sounds clean and polished.
In this beginner’s guide, we’ll walk through foundational concepts, equipment setup, and mixing techniques designed specifically for church live streaming. Whether you’re streaming weekly services or special events, this guide will give you the confidence to dial in sound that supports—not distracts from—your message.
Best Livestreaming Equipment
Discover what top-rated equipment we recommend adding to your church streaming toolkit.
Download for free!
Why good audio mixing matters
The truth is, viewers might tolerate a slightly shaky camera angle, but poor audio will cause them to check out fast. Muffled speech, inconsistent volume levels, or distorted instruments are frustrating to listen to—especially over headphones or small speakers.
A well-balanced mix allows your audience to focus on the content without strain, whether they’re watching on a laptop, phone, or TV.
Basic components of an audio mixer setup
Before diving into mixing techniques, let’s quickly cover the core gear you’ll be working with:
1. Church audio mixer
The audio mixer is the heart of your setup. It allows you to combine multiple audio sources—like microphones, instruments, and playback tracks—and control their levels, tone, and balance. For most church live streams, a digital mixer offers flexibility and presets that simplify repeated setups. Analog mixers can also get the job done, but require more manual tweaking.
If you’re still exploring what hardware fits best, we’ve broken down what church sound system setup is best for live streaming to help you choose the right gear for your space.
2. Audio interface or direct connection
To get your mixed audio into your streaming encoder, you’ll need a reliable connection method. Many modern mixers include built-in USB or network outputs that can connect directly to your encoder. If your mixer doesn’t have this capability, a dedicated audio interface can serve as the bridge between your mixer and your encoder.
3. Microphones and instruments
Wireless lavaliers, handheld mics, DI boxes for instruments, and ambient mics for crowd sound all feed into your mixer. Proper mic placement and selection play a huge role in how clean your mix sounds.
Setting up for success: pre-mixing checklist
A clean mix starts well before you start moving faders. Take time during pre-production to prepare:
1. Gain staging
Start by adjusting the input gain for each channel. Set levels so the loudest sounds sit comfortably below clipping but high enough to avoid noise. Proper gain staging prevents distortion and keeps your mix balanced.
2. Channel organization
Label every channel clearly. Group similar sources—like vocals or instruments—into subgroups. Many digital mixers let you color code channels for even easier navigation.
3. Monitor mix separately from house mix
One common mistake is sending the same audio mix to both the in-person sound system and the stream. Your online audience hears the service differently than those in the room. Ideally, create a dedicated live stream mix—some mixers allow you to assign separate outputs specifically for this.
For a broader look at production planning, we’ve got you covered with pre-production, production, and post-production tips for church live streaming.
Best Livestreaming Equipment
Discover what top-rated equipment we recommend adding to your church streaming toolkit.
Download for free!
Simple church audio live stream mixing techniques
Now that you’re set up, let’s walk through some practical mixing steps that will make a noticeable difference for your online audience:
1. Prioritize speech clarity
For most live streams, spoken word—whether it’s a sermon, announcements, or prayer—takes priority. Here’s how to keep vocals clear:
- High-pass filters (HPF): Roll off low frequencies (below 80-100Hz) on vocal channels to remove rumble and mic handling noise.
- Compression: Light compression helps even out volume fluctuations without sounding unnatural.
- EQ adjustments: Cut muddy frequencies (typically around 200-400Hz) and boost clarity (2-5kHz) sparingly.
2. Balance instruments thoughtfully
Live music translates differently through streamed audio. Avoid letting one instrument overpower others:
- Pan instruments slightly left/right to create space.
- Use EQ to carve out room—cut competing frequencies between instruments.
- Add subtle reverb or delay to make the sound fuller, but avoid excessive effects which may muddy the mix online.
3. Mind the overall volume
Aim for a consistent output level. Your streaming platform might compress audio on its end, but it’s best to deliver a solid, steady signal. Watch your output meters—peaks should stay below 0dBFS with enough headroom to prevent clipping.
Tools that simplify mixing for church live streaming
Getting great audio doesn’t have to be complicated. Resi’s streaming solutions are designed to reduce the margin for error—letting your team focus on content, not troubleshooting.
For example, Resi’s Resilient Streaming Protocol (RSP) not only protects video quality but also preserves pristine audio, even if your internet connection is unstable. Pairing your audio mix with Resi hardware ensures your broadcast sounds consistent from start to finish, no matter what happens behind the scenes.
Additionally, if you’re managing multiple campuses or overflow rooms, Resi’s Multisite Streaming platform allows you to control audio and video distribution across all locations—keeping everything in sync without added complexity.
Recording & reusing your mix
Your live stream audio doesn’t need to exist only in the moment. Capturing your mix for later use extends the impact of your service and makes it accessible to anyone who couldn’t join live.
With Resi On Demand, your stream is automatically saved and optimized for playback. You won’t lose audio quality, and you can easily repurpose clips for social media, podcasts, or archives.
Best Livestreaming Equipment
Discover what top-rated equipment we recommend adding to your church streaming toolkit.
Download for free!
Learning curve? You’re not alone
Starting fresh with a church audio mixer setup might feel like a lot, but you don’t have to figure it out in isolation. Many churches start with basic gear and simple strategies, gradually refining their process.
If you’re brand new to streaming, we’ve also put together a Beginner’s Guide to Worship Livestreaming Software to help you get comfortable with the full picture—from video switching to audio output.
Plus, you can explore different streaming setups for every size, whether you’re working with a small volunteer crew or a full tech team.
Mixing with confidence
Great audio mixing for church live streaming doesn’t require an audio engineering degree. By focusing on a few core principles—clarity, balance, and consistency—you can deliver a professional mix that serves your audience both in-person and online.
And as your team grows in confidence, there’s always room to fine-tune and expand your production approach. The beauty of live streaming is that it meets people wherever they are, and good audio is at the heart of that connection.
Need help building an audio and streaming system that’s simple to operate and scalable for your church’s needs? Our team at Resi is ready to help you design a solution that supports your goals—so you can spend more time connecting, and less time troubleshooting.
Disclaimer: This content has been generated, at least in part, by artificial intelligence.


