In a time where software encoders are helping more people to livestream video and create immersive online viewing experiences, the flexibility of ProPresenter — a cross-platform (Mac and Windows) presentation and production application for live events developed by Renewed Vision — has changed the game for content creators. From streaming with your built-in FaceTime camera to pro-level multi-camera setups, you can reach your audience with the hardware you already have.
Resi + ProPresenter
Using ProPresenter Stream with Resi enables any organization, even those restricted by budget, to have reliable streaming with minimal upfront cost. Like Resi’s hardware encoders, ProPresenter stream utilizes Resi’s Resilient Streaming Protocol (RSP) to ensure rock-solid streaming through packet loss and even complete internet disruptions.
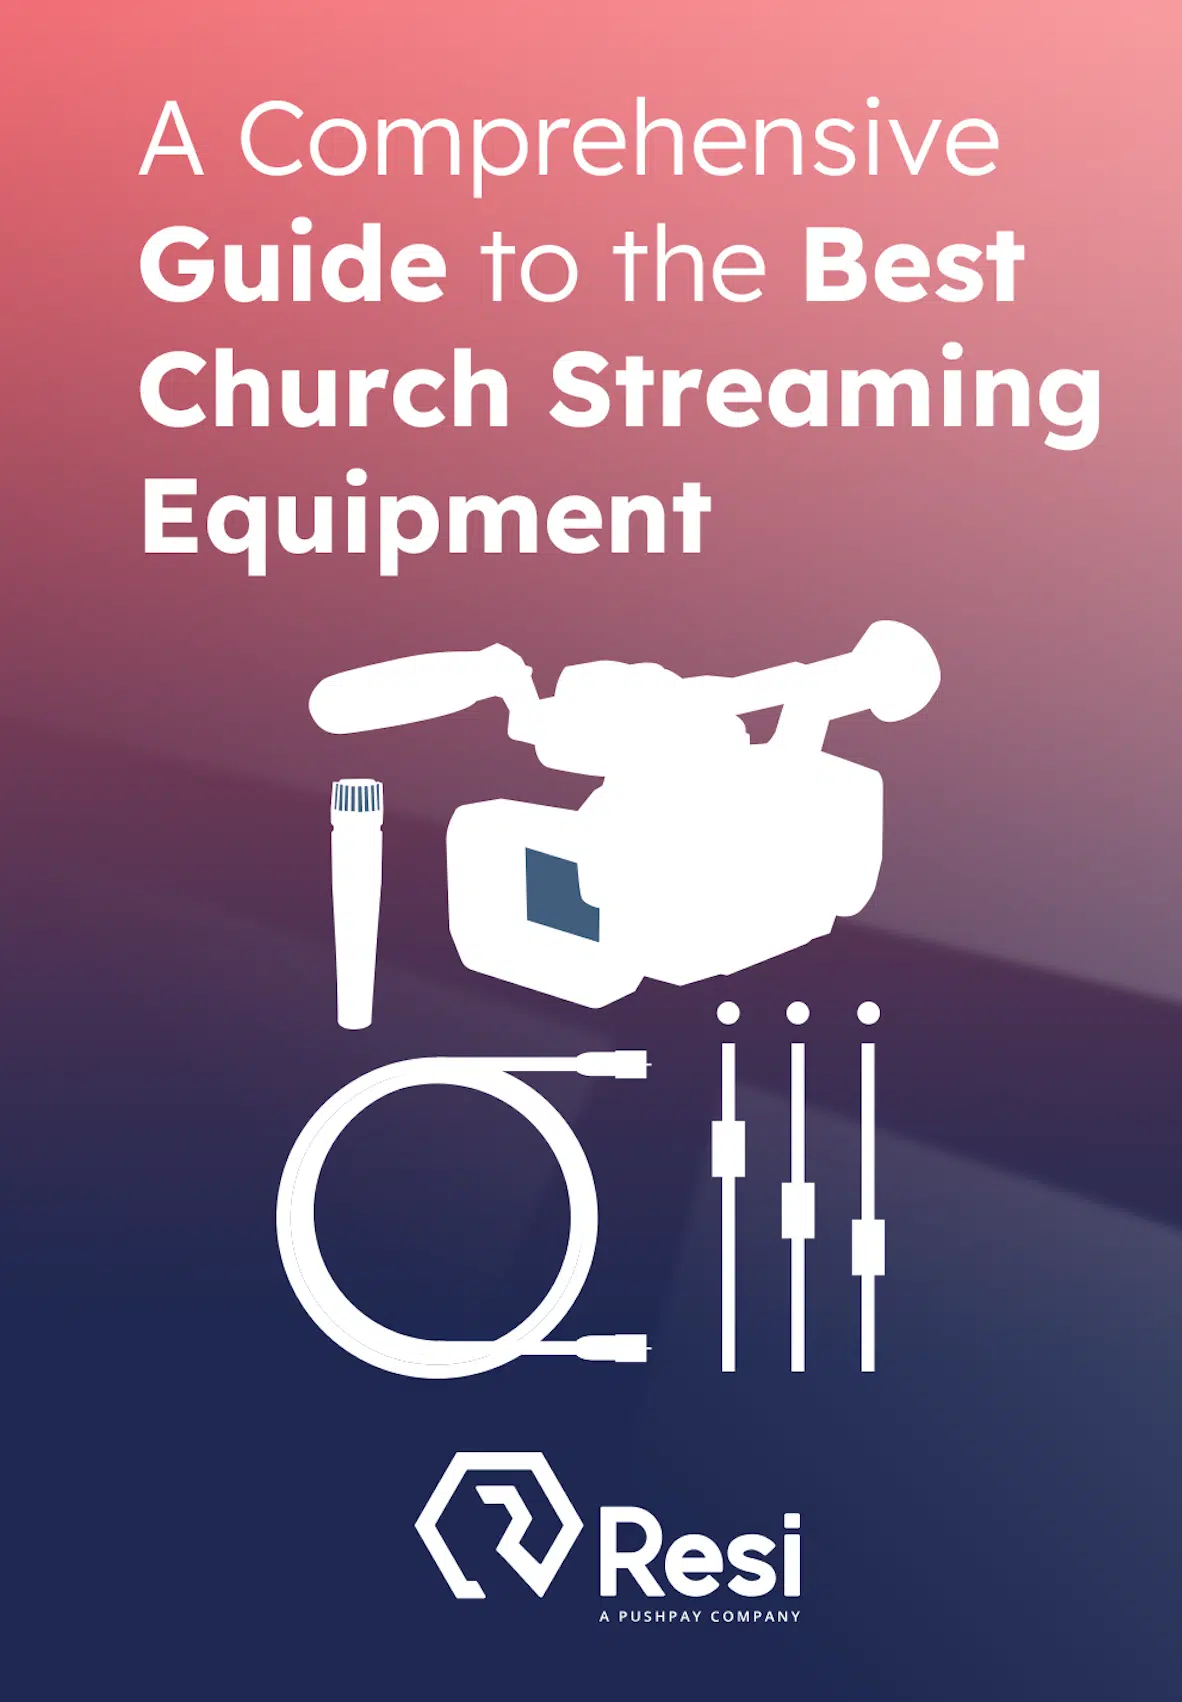
Best Livestreaming Equipment
Discover what top-rated equipment we recommend adding to your church streaming toolkit.
Download for free!
This guide is meant to walk you through the basics of how to stream with ProPresenter and Resi and even showcase some advanced uses. We’ve also included some gear recommendations for those of you that might find yourselves needing to get the best possible livestreaming results.

Choose Your Camera
Yep, you gotta start with the basics! Live streaming cameras come in a variety of resolutions, form-factors, and frame rates so it’s important to think through what you want your end-product to look like. For instance, If you’re hoping to create a more emotive tone then maybe opt for a camera that can shoot 24fps with swappable lenses to get that perfect look. If clarity of message and ultra-smooth motion is of paramount importance, then you’re looking for a camera that does 1080p60fps without breaking a sweat. There really is no “right answer” here, just personal preference and what your budget can handle, because ProPresenter can handle it all. Here are a few options based on cost:
Free
FaceTime Camera
Your Mac’s built-in FaceTime camera works just fine in a pinch, and won’t cost you a dime. For most FaceTime cameras, the max resolution is 720p30, so keep that in mind from a quality standpoint.
$115
Blackmagic Design UltraStudio Recorder 3G Capture Device
Plot twist! This tiny device will let you connect almost any HDMI or SDI camera into your Thunderbolt 3 computer. No, it’s not a camera, but if you already have a camera, buy this and thank us later.
$1,099
Canon Vixia HF G50
Production budgets love this offering from Canon. Touting an 8-blade circular aperture, 20x optical zoom at 4K, and five-axis advanced image stabilization to reduce shake and jitter, especially at longer focal lengths you’ll feel great about adding this to your streaming toolkit. It does opt for a mini-HDMI connector though.
$1,298
Sony HXR-MC88
Armed with a full-size HDMI output, ZEISS glass, and 12x optical zoom the HXR-MC88 is stream ready for all sorts of production applications. Not to mention the included XLR handle that connects to the MI shoe and provides two 3-pin XLR audio inputs with 48V phantom power.
$1,599
BirdDog Eyes P100 1080p Full NDI PTZ Camera
For those of you short on camera ops this PTZ powerhouse uses the VISCA control standard. Plus, it switch-hits with simultaneous SDI and NDI support all while running up to 1080p60.
$2,999
Canon XF405
Capable of 1080p60 with built-in 3G-SDI, this camera enters into the prosumer category with ease. It’s also great for sending localized audio with its dual XLR inputs.
$3,498 + Lens
Sony Alpha a7s III Mirrorless Digital Camera
It’s not cheap, but boy is it pretty. Affectionately viewed as “The King Of All Cameras” this beast offers a full-size HDMI output, freaky fast autofocus, and a great selection of lenses that increase its versatility.
Connect Video Inputs
ProPresenter’s ability to create video inputs from almost anything is borderline dark-magic. You can source NDI signals, a webcam, or even that RED KOMODO you saw your buddy shooting with on Instagram. It’s also worth noting that not all USB based video input adapters are created equal. ProPresenter officially supports USB video device class (UVC) compliant devices, so dig around in the specs for a clear indicator that you’re getting the right piece of gear.

The process of adding inputs is incredibly simple and starts with you deciding on how many cameras/video sources you need for your production and making sure your computer can handle that number of direct inputs. As a general rule, if you’re using more than one camera, you may want to consider purchasing a DeckLink PCIe card. Here’s a breakdown of some of the available technologies:
$19
DIGITNOW HDMI to USB 2.0 Video Capture Dongle
No, you didn’t read that wrong! $20 bucks gets you a UVC and UAV compatible (it tricks your computer into thinking it’s a webcam) capture card with great versatility for single-camera setups. It maxes out at 1080p30, though, so be sure to check what your camera is sending.
$115
Blackmagic Design UltraStudio Recorder 3G Capture Device
It’s back! Like we mentioned above, the magic little box creates a world of possibilities for you to input all sorts of devices into ProPresenter.
$129
Best Livestreaming Equipment
Discover what top-rated equipment we recommend adding to your church streaming toolkit.
Download for free!
Elgato Cam Link 4K USB 3.0 Video Capture Dongle
Easily connect your DSLR, camcorder, or GoPro to your PC or Mac with ultra-low-latency technology and surprising quality with resolution and frame rate support up to 1080p60.
$495 (Duo2) / $995 (Quad2)
Blackmagic Design DeckLink Duo2/Quad2
Connect up to 8 SDI cameras using the Blackmagic Design DeckLink Quad2 PCIe card or 4 SDI cameras using the Blackmagic Design DeckLink Duo2 PCIe card (there are also HDMI cards available if needed).
$500 + PCIe Capture Card
Sonnet Echo Express PCIe Expansion Chassis
For those of you with iMacs there are some great PCIe expansion products out there; like the Sonnet Echo Express SEL Thunderbolt 3-to-PCIe Expansion Chassis. Adding these powerful extras to your workflow can significantly improve your stream.
Regardless of how you connect your cameras or other sources, each one will show up as a “Device” that you can name and customize inside ProPresenter.
Route Audio
Video inputs are ready, but what about audio? Audio Engineers can rejoice because ProPresenter has everything you need to connect a full mixing console or even just a set of AirPods. You can add as many Audio Inputs as you’d like and select their individual sources. From there you have the option to manually control each input or utilize the Auto Off/Auto On tools to attach different audio devices to an assigned Video Input and auto-take while switching. Further adjustments can be found inside the Audio tab in the Preferences window to tweak channel count, routing, and delays.

If you’re not an audio engineer and are still wondering how to ACTUALLY get the sound into the computer we’re compiled a shortlist of possibilities:
$109–$144
Audinate AVIO Dante Adapters
No, you This quote from Audinate’s website says it all; “Dante is the de facto standard for modern AV connectivity.” The infinitely expandable Dante Network is magical, and these great little adapters are a great way to dip your toes into the platform and future proof your audio setup. P.S. You should be comfortable with a little networking lingo should you choose this route.
$159
Best Livestreaming Equipment
Discover what top-rated equipment we recommend adding to your church streaming toolkit.
Download for free!
Apple AirPods
You can’t really go wrong with Apple’s super popular wireless earbuds. These will help eliminate that “roomy” sound and look more professional than having white wires dangling off your ears.
$279
Focusrite Scarlett 4i4 3rd Gen USB Recording Interface
Perfect for utilizing the audio capabilities of ProPresenter while taking it easy on your production budget. Featuring 24-bit/192kHz resolution and the skills to handle up to 4 line inputs.
$599
Rode RodeCaster Pro Podcast Production Studio
Connect up to 8 SDI cameras using thNeed more bells and whistles? Rode has you covered with this 6 channel swiss army knife of a mixer. With support for up to 4 presenters and offers easy connection to phone, USB, and Bluetooth sources. And for instant playback of sound effects and jingles, it features eight programmable pads. Your livestream may have never sounded so fun!
$1,798
Behringer X32 Compact 40-channel Digital Mixer
Just because ProPresenter has 16 audio output channels doesn’t mean your console options are limited. This beefy piece of gear by Behringer loads you up with 40 inputs and 16 mix buses for ultimate control of live music productions. Plus you can spring for the optional Behringer X-DANTE 32-channel Dante Expansion Card ($598) and get your network audio fix as well.
ProPresenter Settings
ProPresenter is extremely flexible, so the combinations of settings right for your production is bound to take a little time to hone. That’s ok though, because the next part of our guide can act as sort of a cheat-sheet to get you streaming in a pinch.

Configure Screens
ProPresenter gives you the ability to manage your in-the-room screens separately from your stream output. This happens by configuring your “Screens” inside ProPresenter to include a “Stream” screen using a Placeholder source. This way you can build specific Themes and Looks to create a custom viewing experience for those watching online.

Edit Looks
If you’re streaming and running an in-the-room screen, like an LED wall, you’ll want to edit your “Looks” and enable/disable what layers you want to send to each screen. Here’s where you can choose a custom theme for your “Stream” screen that will adjust your slide content to a keyed lower third format (more on themes in the next step).

Create Themes
Themes are pre-built layouts for slides. For example, song lyrics displayed over live video would be a separate theme with a simple text box with a transparent background. Save your new theme and select it in your “Looks” setup as the default for your “Stream” screen.
Start Streaming
Now you’re ready to reach your audience using ProPresenter! Click the “Live” icon in the top right corner of the screen to open the “Capture Settings” and change the “Source” and “Destination” dropdown menu and choose RTMP if you will be using an RTMP destination, or choose Resi if you want want the reliability that only our Resilient Streaming Protocol (RSP) can provide.

Resi ProPresenter Stream is built-in and configurable from the “Preferences” window. It can guarantee delivery of your video perfectly without buffering or glitches, even if the Internet drops.
Why Stream With Resi and ProPresenter?
It really comes down to that feeling you have when you press the Start Streaming button. We’ve heard countless stories of tech directors, broadcasting engineers, and production professionals uttering some version of; “Well, let’s hope it works this time.” just before their event goes live using their previous RTMP provider. Resi’s technology enables more reliable streaming, which leads to less buffering wheels, which leads to more engagement and an exponentially larger audience over time.
Get Livestreaming Today With ProPresenter Stream
Stream high-quality, ultra-resilient content with Resi and ProPresenter.
Learn more
- Stream to your website, Facebook, YouTube and more at the same time.
- Make your production workflow worry-free with automated, set-and-forget scheduling.
- Restream your events later through scheduled simulated live from the cloud.
- Know your audience with advanced analytic data.
- Eliminate streaming complaints through Resi’s Resilient Streaming Protocol.
Resi is the only streaming provider that is able to guarantee 100% content integrity in the cloud (even through internet disruptions) by checking and re-sending data from the encoder through the Resilient Streaming Protocol (RSP).
With advanced analytics, proactive support, hardware and end-to-end hardware solutions for single and multisite venues, we’re more than just an icon inside ProPresenter; we’re the most resilient streaming provider and we can’t wait to help you reach your audience with confidence.
How It Works
Every Livestream Platform plan includes 1 ProPresenter Stream license (ProPresenter software must be purchased separately), so it’s free to get started even if you already have a Resi encoder, and if you want to stream from additional ProPresenter machines, you can add as many as you want for $9/mo each (plus web plan changes for concurrent events if applicable). Because you can easily schedule and automate every stream, this is great to set up in all of your venues, for every video need from streaming classroom to private Facebook groups to automatic video archival.
We still recommend hardware encoders such as our Server-Grade encoders or low-cost Mini encoder as your first choice option, as these guarantee the highest level of reliability; they are dedicated specifically to encoding without relying on underlying software or being used for multitasking in production. Resi + ProPresenter Stream makes a great option for when budget is limited (and you maybe already have a ProPresenter machine) or want the reliable streaming of Resi in a low-cost scalable platform for additional spaces in your facility.